 What’s going on everyone? ‘Tool back with another post. What’s a vocal chain someone may ask? What’s the best order? Is there a one size fits all? These questions have been going around for years and they’ll probably never stop. We’ll answer some of those questions as we take a look into my general approach to mixing vocals. Get your pen and pad ready! 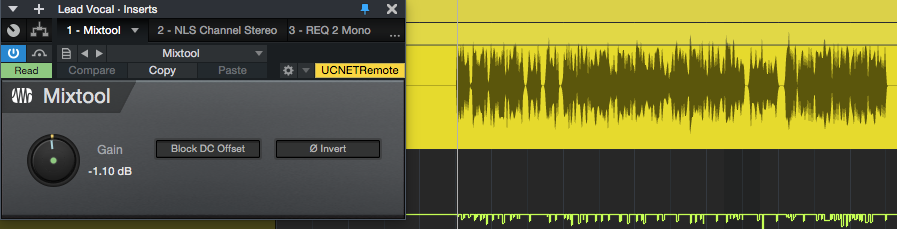 Vocal Riding Vocals are very dynamic. Therefore, the first step for a vocal is to load up a gain plugin. The reason for this is I want the volume to be as even as possible going into the next set of plugins, which are the most important ones. More on that later. If you don’t have a plugin that can do this for you, no worries, it can be done manually. Simply use your DAW’s version of clip gain. I usually do the manual riding first then use a plugin to come behind me and smooth out the first run. Getting the vocal right at this stage before applying any other plugins is super important. Note, it’s important to use a gain plugin rather than automating the channel fader. The channel fader can be used for the overall volume of the vocal and it will be difficult to tweak if you have already written the automation. 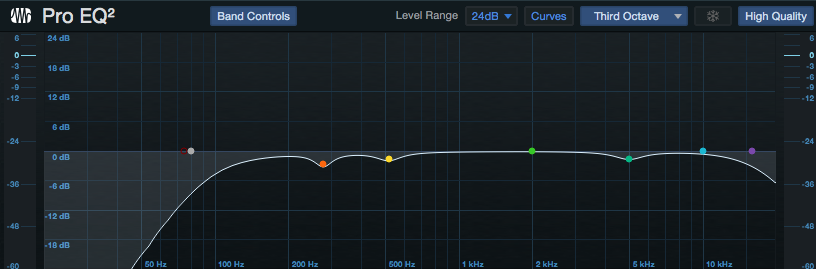 Surgical/Subtractive EQ I’m using an EQ at this stage to get rid of frequencies that need to be tamed. Mostly the low end rumble and the mids. Start with a high pass filter around 85 Hz and adjust as needed. Very simple. Next, try using frequency sweeping to pinpoint any other problems the vocal may have.  Pitch Correction If a pitch correction plugin is needed, I would place it after the corrective EQ. Make sure to identify the key of your track.  De-Esser I like to use de-essers to target sibilance in the 5 - 9 kHz range. A de-esser can help tame these frequencies so they won’t sound too harsh and poke out in the mix. Be careful not to go too far here, as doing so can cause the vocal to have a “lisp” or make it not sound unnatural. 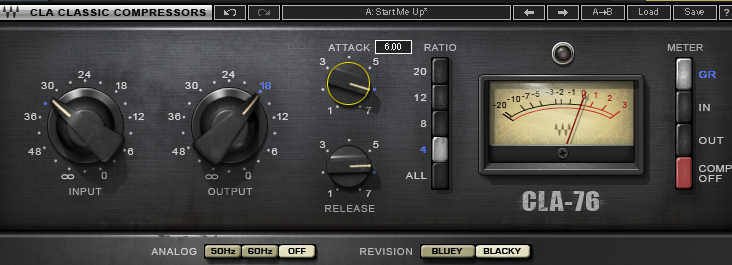 Compressor 1 Fast attack, fast release. Knock down only a few dB, about 2-3 of the loudest peaks. Another compressor later will help glue everything later on.  Additive EQ Vintage, retro, old school. I’m pulling out the recreations of the analog classics. Waves API, PuigTec and Renaissance are some of my faves. With this EQ I'm looking to highlight what I like most in the vocal while adding some brightness and shine. You don’t have to always use an analog modeled EQ, sometimes the job calls for a stock one which can get the job done as well.  Compressor 2 This next compressor is the “glue” The attack and release can be a little slower here since the first one caught the peaks already. Use this compressor to simply level out the vocal and make it more consistent.  Special FX This is where you can add some ear candy to a vocal. There’s really no rules here. Saturation, stereo imaging,distortion, bit crushing etc. are some examples. These plugins don’t have to do anything drastic, just add that cherry on the top.  Send FX
The vocal should be sounding pretty good, now it’s time to help fill out the mix. Reverb and delay are the most common but you can use whatever you like. Load up your favorite plugins and test out different settings. As stated before, this is my general approach to vocal mixing. There’s no set rules to get the job done. Try these steps in your next session and tell me how it goes. This approach has worked well for me and I want to pay the knowledge forward. Until next time, it’s ‘Tool
0 Comments
Your comment will be posted after it is approved.
Leave a Reply. |
instrumentoolI have a passion for teaching and writing. Some of my many thoughts are here. Archives
November 2020
Categories |
 RSS Feed